Colecovision Custom Controller
Enclosure Options
Update!
See the new PC mame fightstick section for more info on enclosures / building your own enclosure!
For my enclosure I have used MDF board / T-molding and hardwearing textured vinyl overlay. Unformately i can not offer any layouts or measurements as the enclosure was cut for me by a cabinet maker. Making a square wooden box is pretty simple if you have the right tools and doesnt require much woodworking knowledge or you could even buy a wooden box like these ones. You could also go for an even simplier option, you could use a project box found at electronics stores, like these ones or these ones:
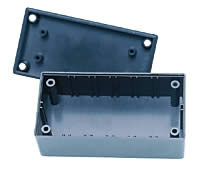
Example of Project Boxes
Click to Enlarge
Of course if you wanted to make something even easier you could use a thick cardboard box, however this will not be as durable. Using a cardboard box as a temperary, test enclosure is a good idea though.
Access Panel
Whatever option you use, you should use something that can provide easy access to the circuitry inside, like a lid, or a removable access panel underneath (pictured below). This will make it easier to diagnose any problems you may have when you first connect everything up to the interface board.
For my project I have cut a square piece of 3mm MDF to enclose the case and protect the components inside. If you are using an underneath panel like this you can use latches to hold your access panel in place. I have used 2 straightened out picture hooks that spin around to hold the panel in place.
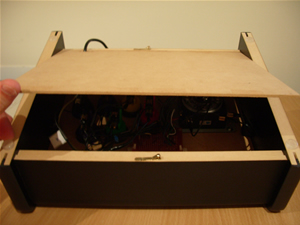
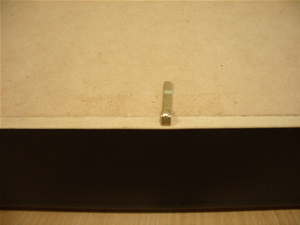
(Left) Access Panel Opened (Right) Access Panel Latch
T-molding
If you opt for a similar "arcade" look like mine you can buy T-molding online or some pool and hardware stores also sell this product. You need to buy the right size t-molding for the wood thickness you are working with. For instance you could use 20mm wide t-Moulding, for 16mm and 18mm thick board, as it provides a little overhang which can be trimmed off with a hobby knife after it is installed. The spine is barbed so once it is knocked in with a small hammer or rubber mallet it stays neatly in place. You will need to buy a slot cutter router bit so that you can cut a slot in the wood to insert the barb of your t-molding into (see below picture). Check what size slot your t-molding needs. Slot cutter router bits can also be purchased from most hardware stores or you find them also at tmolding.com.
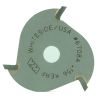
Slot Cutter Router Bit
This picture shows a piece of white t-molding inserted into chip board:
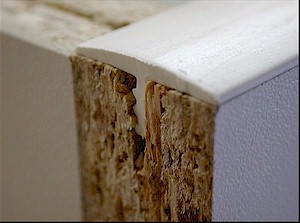
T-Molding Inserted into chipboard