Colecovision Custom Controller
DSUB-9 Cable
The cable that i have used for my controller came from an old sega-mega drive joystick. I picked 2 of these up from my local Gametraders for 4 dollars each. You could probably find these at any 2nd hand games store as they are pretty common. You can use a DSUB connector and a piece of 9 wire cable instead of this however I found this option to be unreliable and VERY fiddly. The donor cable from the mega-drive controller was by far the cheapest, easiest and most fault tolerant way of cabling the controller. The best part about this replacement cable is that its not twirly like the original colecovision controller cable.
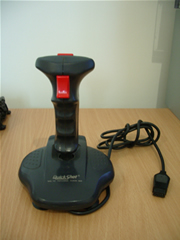
The Cable Donor
Click to Enlarge
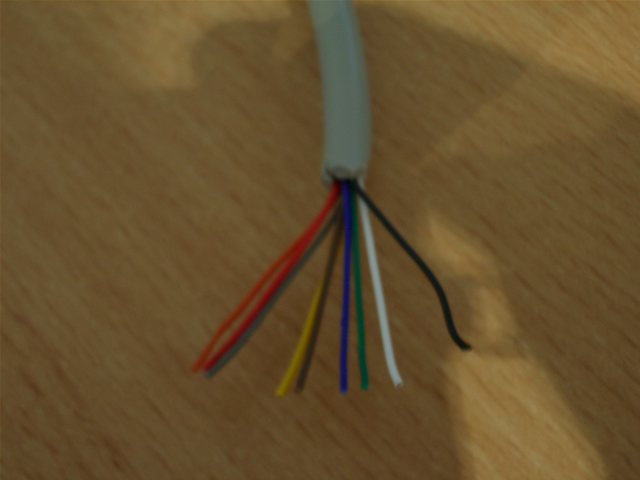
The Colecovision uses 7 of the 9 wires inside the DB9 cable. If you are using an old donor cable like mine pictured above you will need to check which of the 7 wires you will need. Even though the original colecvision cable didn't use the black and white wire, this donor cable actually used the black and white wire, all wires were out of order ie red wasn't connected to the pin 1 input on the dsub connector. Therefore it is not the COLOUR of the wire thats important, but which hole on the connector that it is connected to.
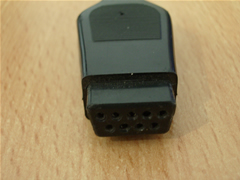
DB9 Cable Wires
Click to Enlarge
How to test the cables wiring
How to make sure that the colors of the wires on the cable correspond with the colors on the schematic: Place a pin or piece of bear metal wire inside one of the 9 holes on the end of the connector (picture above right). The connector should have the holes labelled 1 to 9, if it doesnt refer to the schematic for a diagram of how the pinholes are numbered. Using a multimeter in continuity mode, place one prong on the small wire piece protruding from the hole and then check each of the 9 wires on the other end, with the other multi-metre prong until the multi-metre beeps ie you have a connection.
If the outcome differs from the colecvisions orginal db9 cable configuration, it is a good idea to right down on the schematic your results, so that you can refer to them as you are wiring up your circuit board.